 dev setup
- 4 mins I just recently had to set up my new macbook and as some people asked me about my data science setup for R/ python-scripting, package and app development and working with remote serves, I decided to give a short overview within this post. This setup allows me to have full control over my projects, work with different languages in the same interface and seaminglessly switch to any cloud computing service that allows command line acces via SSH.
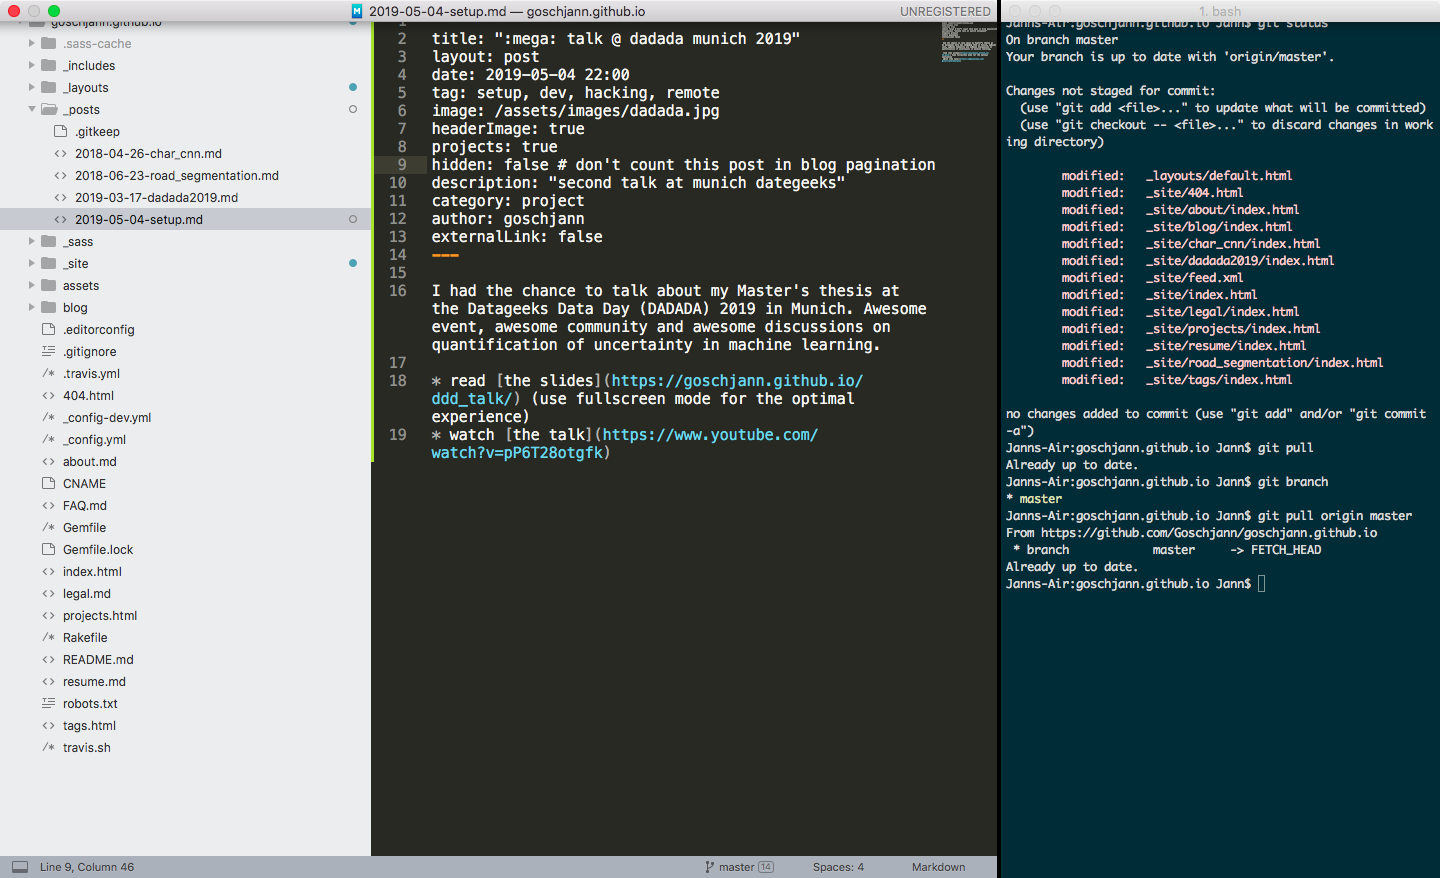
Basically, I use sublimetext3 as an editor and iterm2 with ipython or R for code execution locally as well as remotely. In the following, I will cover those basic issues:
- sublimetext 3
- sendcode for code execution
- different terminals (macOS, ubunut, windows)
- docstrings and code completion via anaconda package
- r-box for R
- setup miniconda for virtual environments
- work and sync on any remote server (SimpleSync)
sublimetext3
- download and install sublime text 3 from here
- get terminal:
- install sublime package
sendCodeto execute line-by-line in your terminal via convenient key bindings:- enter the sublime package manager:
cmd + shift + P, typeControl packages:and chooseinstall packages - enter
SendCodeand pressenterto install - check the SendCode settings and enter your prefered terminal for each language (e.g.
cmderfor windows,itermfor macOS):Preferences»Package Settings»SendCode»Settings -
for windows only: uncomment and enter the line
conemuc: <path to cmder folder>\\vendor\\conemu-maximus5\\ConEmu\\ConEmuC.exeto show SendCode where to send the code. Should finally look like this: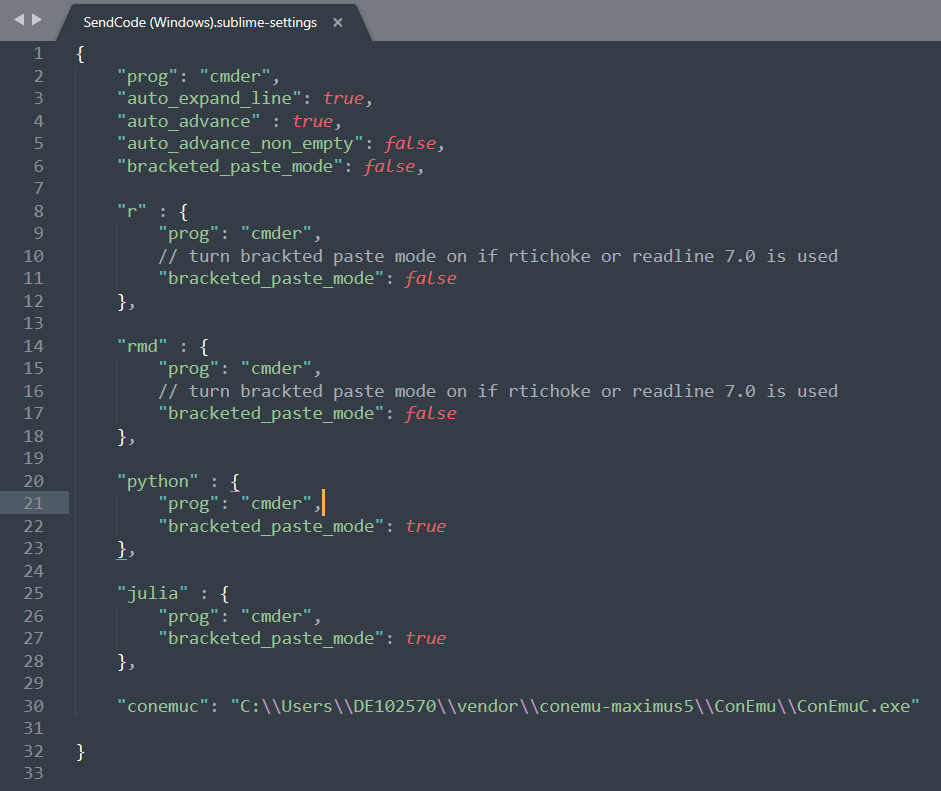
- enter the sublime package manager:
- install sublime package Anaconda for python highlighting and docstrings
- install sublime package R-Box for R highlighting and docstrings
- general: define key-bindings aka shortcuts
Preferences»Key Bindings
virtual environments
I use virtual environments for each project to reduce the hustle with different package dependencies etc.
- install miniconda
- create virtual environment for your project:
conda create -n <your env name> python=<python version, e.g. 3.7> anaconda - activate it:
source activate <your env name> - deactivate it:
source deactivate
remote work via ssh and code sync
My workflow is me coding on my macbook air and executing code on my private server (for dl stuff and data sets > dummy data sets). This is the setup that enables me to seaminglessly code on my low-power mba and in parallel execute and test the exact same code line-by-line on my high-power, gpu-equipped ubuntu tower. The neat thing is that I can plug in any remote server that enables ssh into this setup (aws, azure, gcloud, baidu…) without changing my workflow.
- get the public ip from your remote server e.g. via checking whatsmyip.org if you have a gui on your remote
- ssh on from your locale your remote server and authenticate via pwd, e.g.:
ssh <your name>@<remote ip, e.g.: 187.222.12.177> - create a ssh-key on our locale:
ssh-keygencareful: this overwrites existing keys - copy your public key to the remote:
cat ~/.ssh/id_rsa.pub | ssh <your name>@<the remote ip> "mkdir -p ~/.ssh && touch ~/.ssh/authorized_keys && chmod -R go= ~/.ssh && cat >> ~/.ssh/authorized_keys" - now you can easily login via ssh from your locale’s terminal via
ssh <your name>@<remote ip> - create an alias for this long command on your locale:
cd ~/. && touch .bash_aliases && echo "alias remoteserver='ssh <your name>@<remote ip>'" >> .bash_aliases && source ~/.bash_aliases - then add this line to your
~/.bash_profiles:source ~/.bash_aliasesto source it automatically when you launch your terminal - now simply type
remoteserveron your locale terminal to ssh into your remote server - you might want to sync certain files that you actively develop locally to those on the remote. I sync them using the awesome sublime package SimpleSync.
- install it as explained above
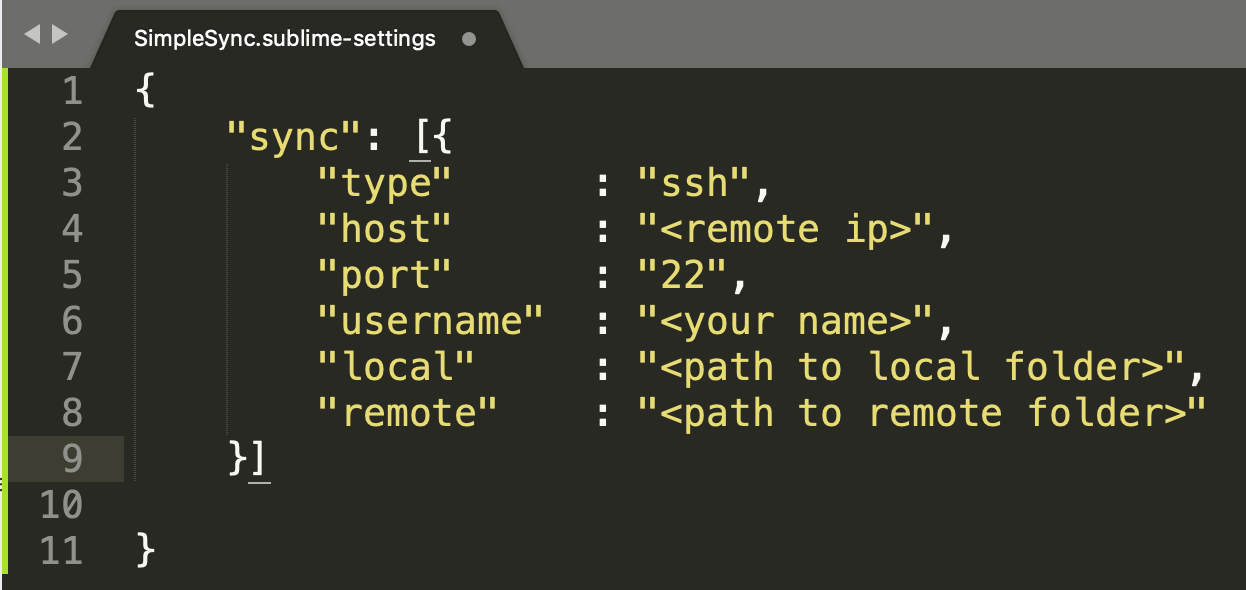
- set the settings according to your file paths, ip’s etc. via the sublime package settings. The final user settings file should look as follows:
- per default, you will sync files each time you save your locale file. You will get notified on the bottom grey line of the sublime editor
additional material
- plot inside your iterm2 terminal with the awesome itermplot extension
- use openSSH within a MNet network (which does not provide IPv4) via feste-ip.de (GER only)